



Скачать приложение
Step-by-step instructions for connecting each communication channel to the Smartbtn widget. All settings are done on the "Widget settings" page in your personal account — save your changes there after entering the data from the instructions below.
Open the "Widget settings" page, under the line "ADD SOCIAL NETWORK AND MESSENGER BUTTONS" select the TELEGRAM icon and click on it.
To connect the Telegram channel, you first need to get your API key. Open Telegram, find a user named @botfather and start a chat with them. Then send the Telegram chat (with @botfather) a command to create a new bot — /newbot.
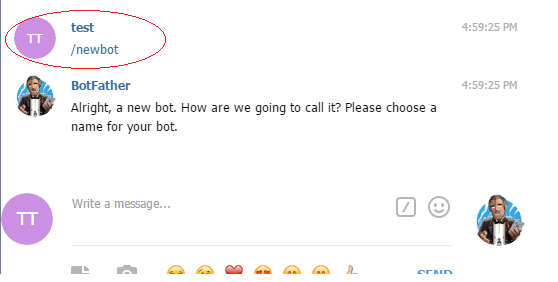
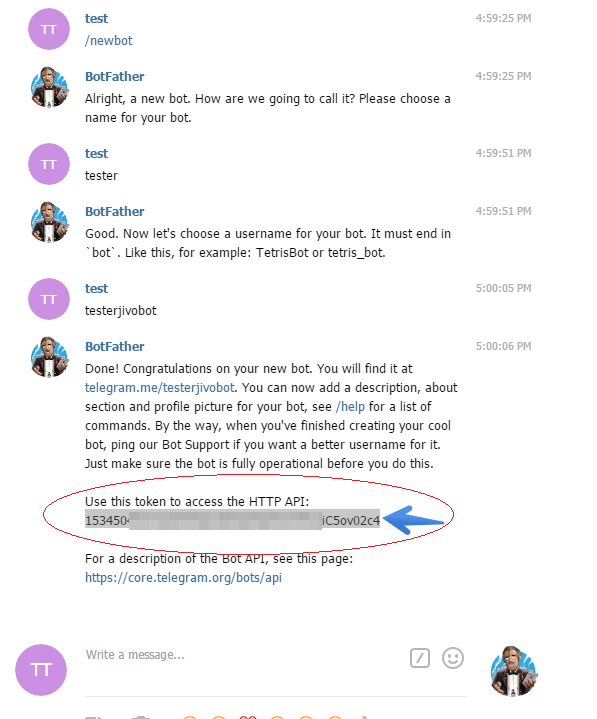
Enter the name of the new bot, which will be shown to visitors during a chat with it — for example, tester. Next, you'll be asked for a username for the bot, which is how your customers will find and message it. Note that the username must end with "bot", e.g. SmartbtnChatbot. You'll then be given an API key, which you'll need when connecting the Telegram channel.
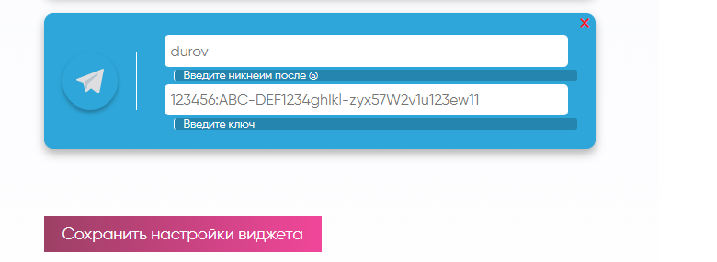
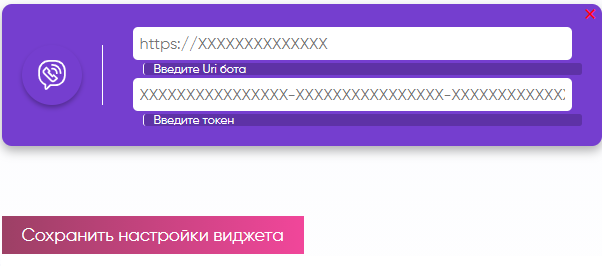
Enter the created bot's name in the top field, and its token in the bottom field.
On the widget settings page, click "Save widget settings".
Click on the "Widget settings" tab.
Under the line "ADD SOCIAL NETWORK AND MESSENGER BUTTONS" select the VK icon and click on it.
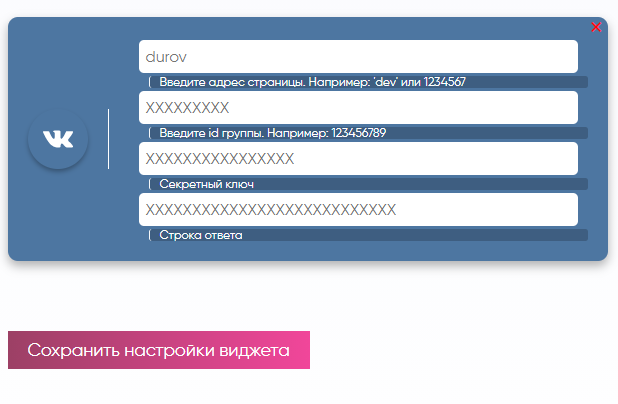
Fill in the fields that open:
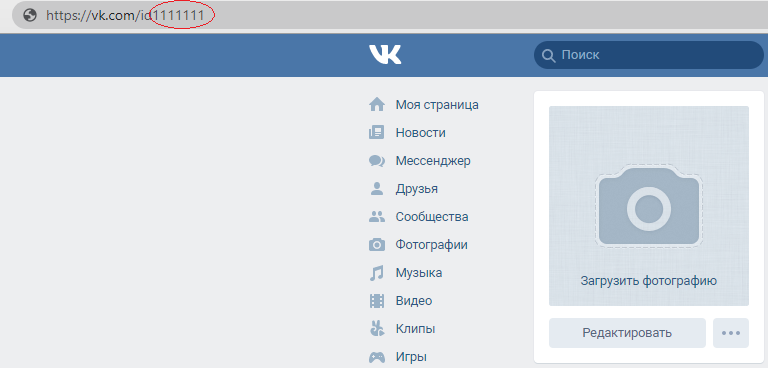
— the address of your VK page, e.g. https://vk.com/id111111111 — this is the main page of your VK account, and its address can be copied from the browser's address bar;
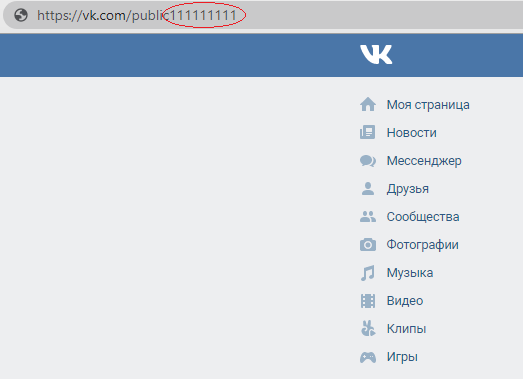
— the address of the community page you use to communicate with clients, e.g. https://vk.com/public111111111 — this is the main page of your VK group, and its address can also be copied from the browser's address bar:
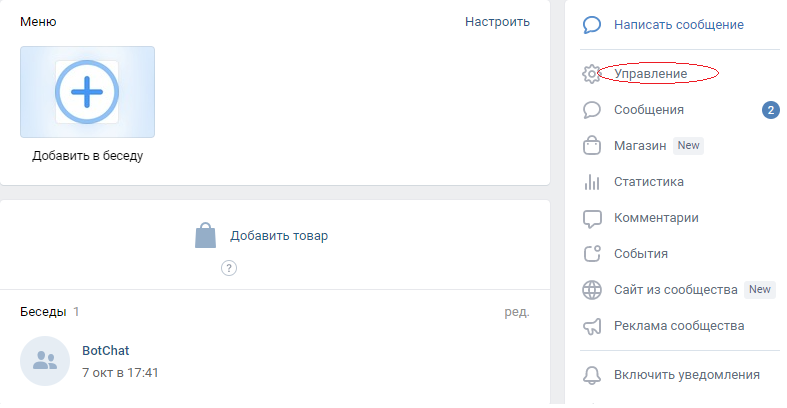
— the secret key is created in the community's management settings. On the community page, go to the "Management" tab:
— then in the settings, select "Work with API":
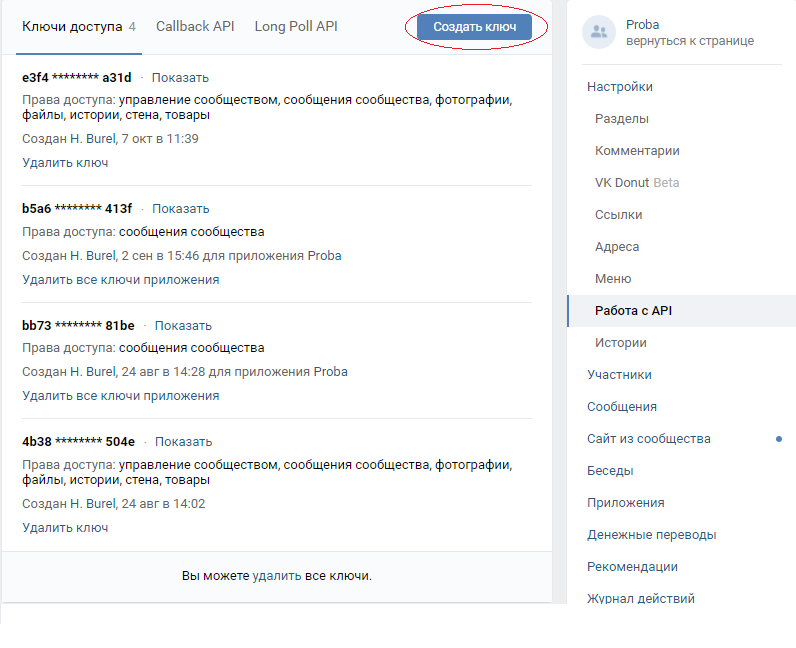
— go from the "Access keys" tab to the Callback API tab. Find the line "The string the server must return: abcdefgh". Copy the secret string after the colon and paste it into the "Response string" field in the widget settings:
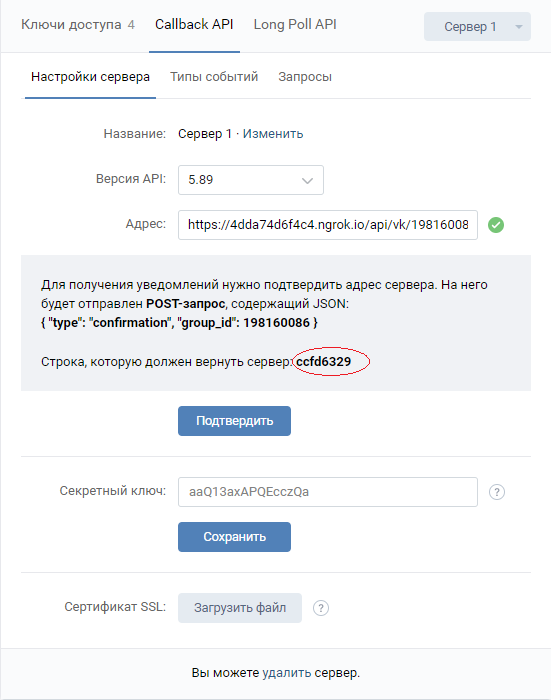
Save the widget settings.
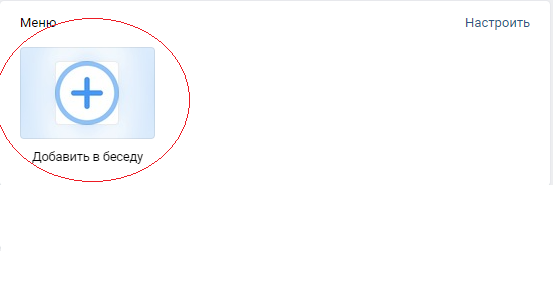
Go to the VK community. First, you need to enable a bot for your community: go to "Community management" → "Messages" → "Bot settings" and turn on "Bot capabilities". After that, an "Add to conversation" button will appear in the community, opening a modal with a list of conversations.
Click on the "Widget settings" tab.
Under the line "ADD SOCIAL NETWORK AND MESSENGER BUTTONS" select the Viber icon and click on it.
If you don't already have an account on partners.viber.com, register using the link here.
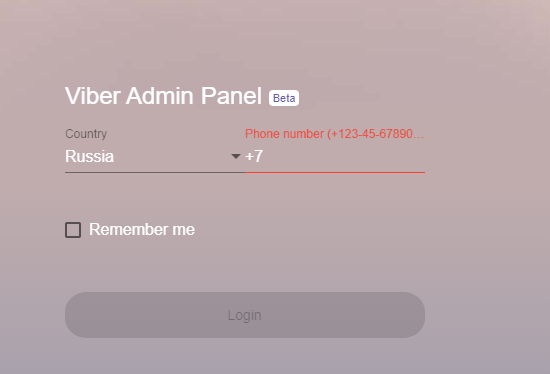
You'll land in the admin panel, where you can create a bot account. Fill in all the fields — from the account name (the bot name users will see in Viber) and URI (used to build a deep link to the bot), to the email and location. Click "Create" to get a token, and copy it. You'll get a push notification in Viber that takes you to the newly created bot. The account is hidden from other users at first, until you click "Publish".
Copy the token into the form field and save the widget settings.
Click on the "Widget settings" tab.
Under the line "ADD SOCIAL NETWORK AND MESSENGER BUTTONS" select the Facebook icon and click on it.
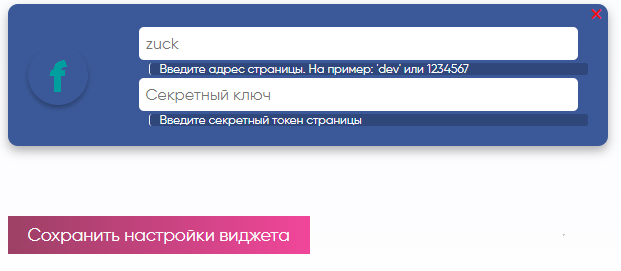
To get a secret token, follow this guide.
Copy the token and your Facebook page address into the form fields and save the widget settings.
Click on the "Widget settings" tab.
Under the line "ADD SOCIAL NETWORK AND MESSENGER BUTTONS" select the WhatsApp icon and click on it.
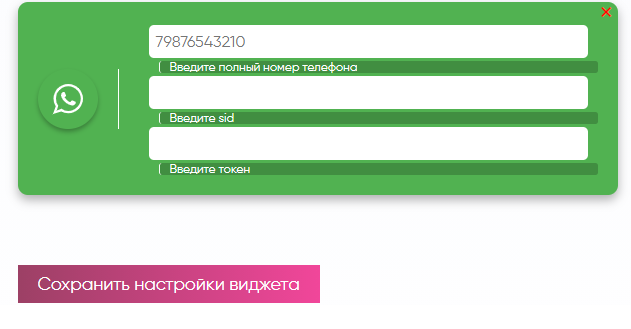
Register on the Twilio website and fill in the required details. Card details aren't required for registration.
Get approved by WhatsApp: send a request to WhatsApp to activate your Twilio number. To use Twilio's WhatsApp API, you need to activate your Twilio number for WhatsApp — Twilio uses this to confirm your agreement with WhatsApp and compliance with Twilio's privacy policy, and to help with the integration. You'll need a Facebook Business Manager ID to request Twilio's permission to send messages on your behalf.
Fill out the form to activate your Twilio number.
Copy your Twilio Account SID (also entered into the WhatsApp form in the widget settings) — the SID of your Twilio account. To find it, go to your Twilio account, Settings → General, and copy the ACCOUNT SID field.
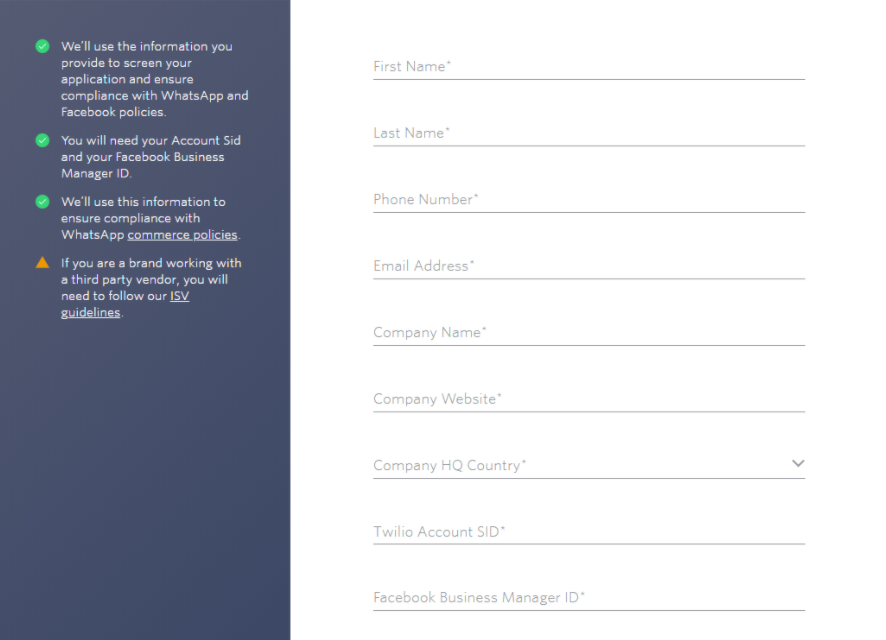
Fill in the remaining fields. If everything is filled in correctly, Twilio will contact you within 5 days of submitting the request.
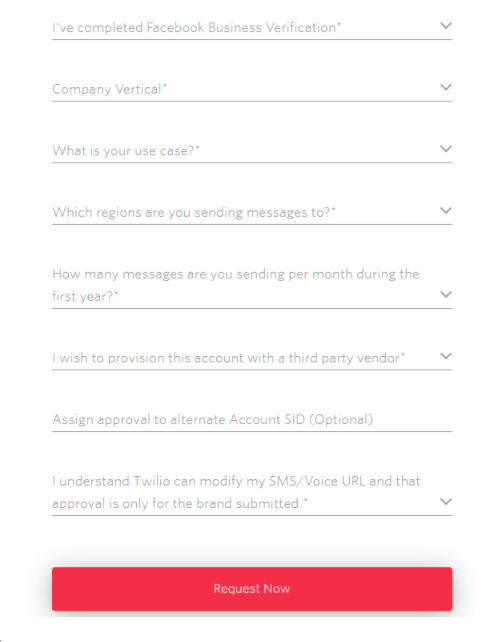
Activate the message-sending feature.
Accept Twilio's request to send messages on your behalf. You can only do this once your account has already been approved by WhatsApp — after receiving an email from Twilio about pre-approval, allow Twilio to send messages on your behalf.
Once your WhatsApp Business account is approved, you'll get an email from Twilio offering to upgrade your account to complete the integration — this just requires topping up your balance with a card.
Connect Twilio to Smartbtn. To find the SID and token, go to your Twilio account, Settings → General. Copy the SID and token from your Twilio account's dashboard and paste them into the form fields on the widget settings page. Click "Save widget settings".
Get an access key as described in this guide.
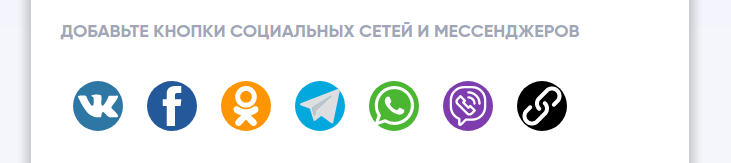
Open the "Widget settings" page, under the line "ADD SOCIAL NETWORK AND MESSENGER BUTTONS" select the OK icon and click on it.
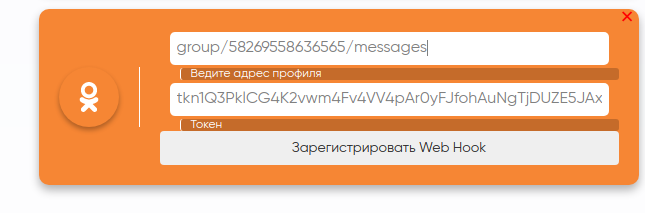
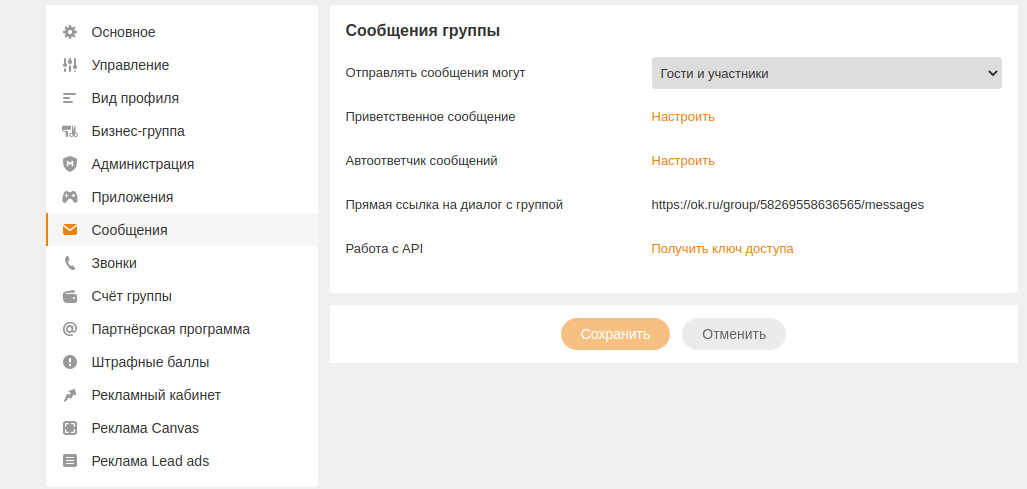
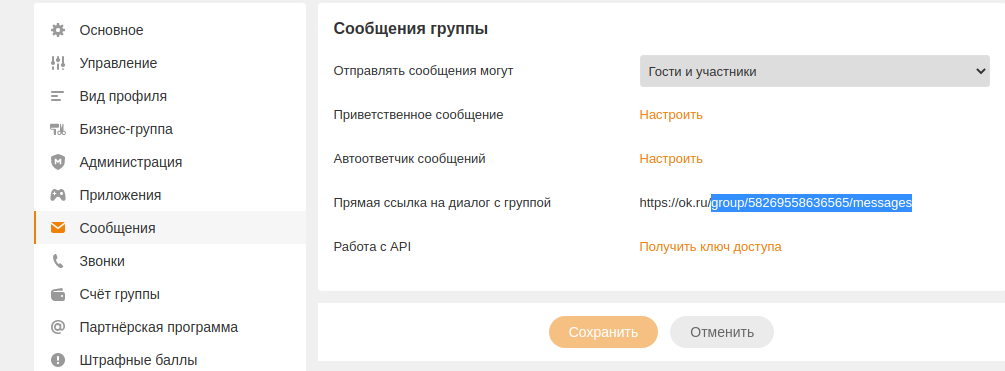
In your Odnoklassniki group settings, copy the part of the "Direct link to group dialog" that looks like group/58269558636565/messages, and paste it into the "Enter profile address" field.

Paste the key you obtained earlier into the token field.

Click "Save widget settings".

After the page reloads, click "Register web hook".

Wait for the message confirming the webhook was registered successfully.
Download the plugin archive to your computer.
Place the unpacked plugin folder in wp-content/plugins/ on the server where WordPress is installed, or install the plugin through the WordPress admin area as described below.
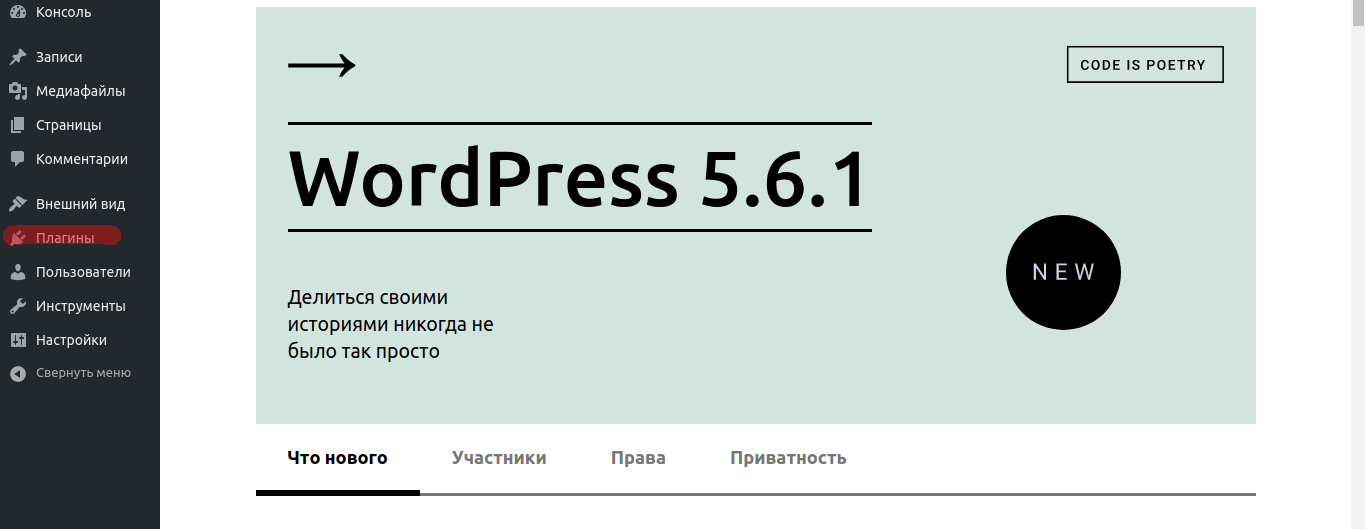
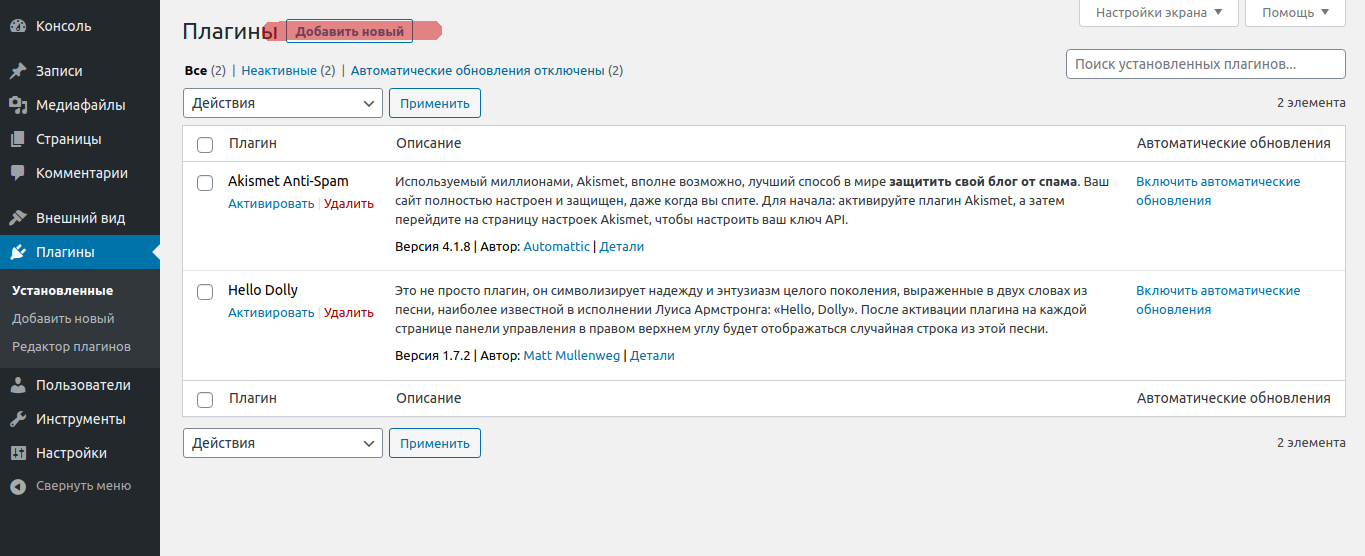
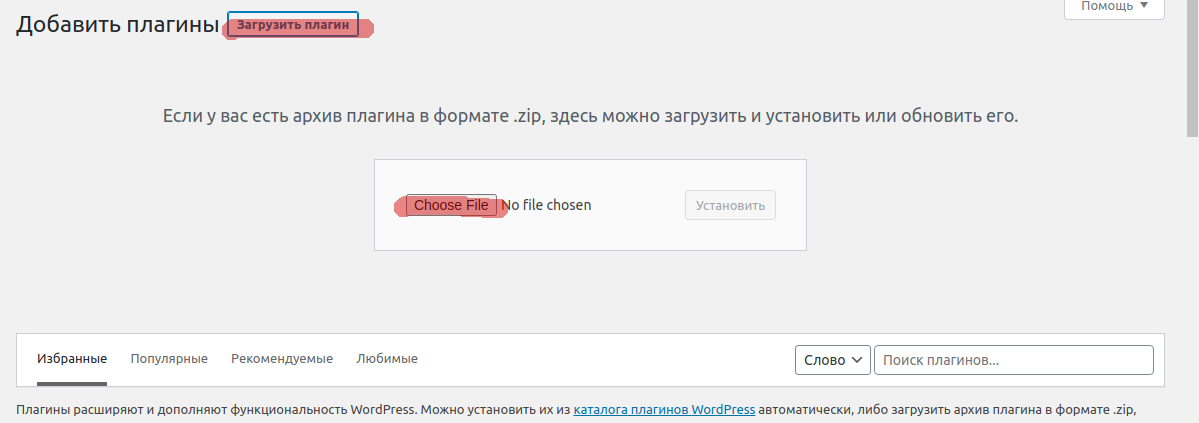
Install and activate the plugin — a Smartbtn item will then appear in the list.
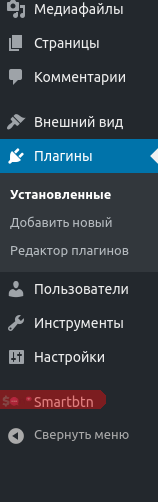
Copy the full security token from the widget settings window in your personal account (double-click to select it, then right-click and choose "Copy"). Important: changing your password changes the security token, and the old token becomes invalid.

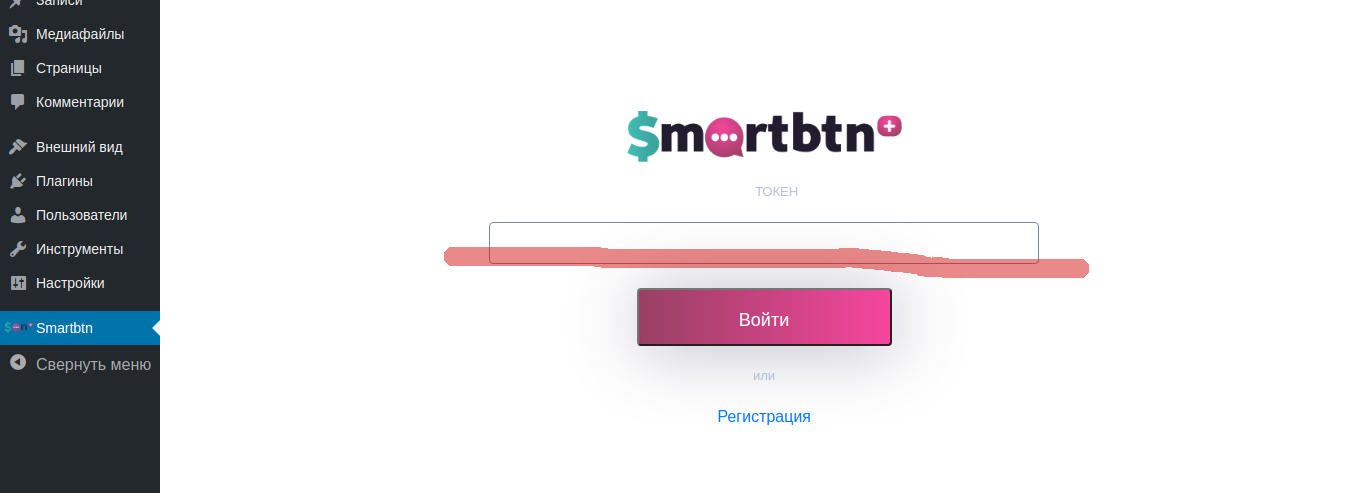
Paste the key you obtained earlier into the token field.
